Clubfoot Solution
Iowa Spring Assist Dobbs Bar (Small and Regular Sizes) IADCB
Iowa Spring Assist Dobbs Bar (Small and Regular Sizes) IADCB
Couldn't load pickup availability
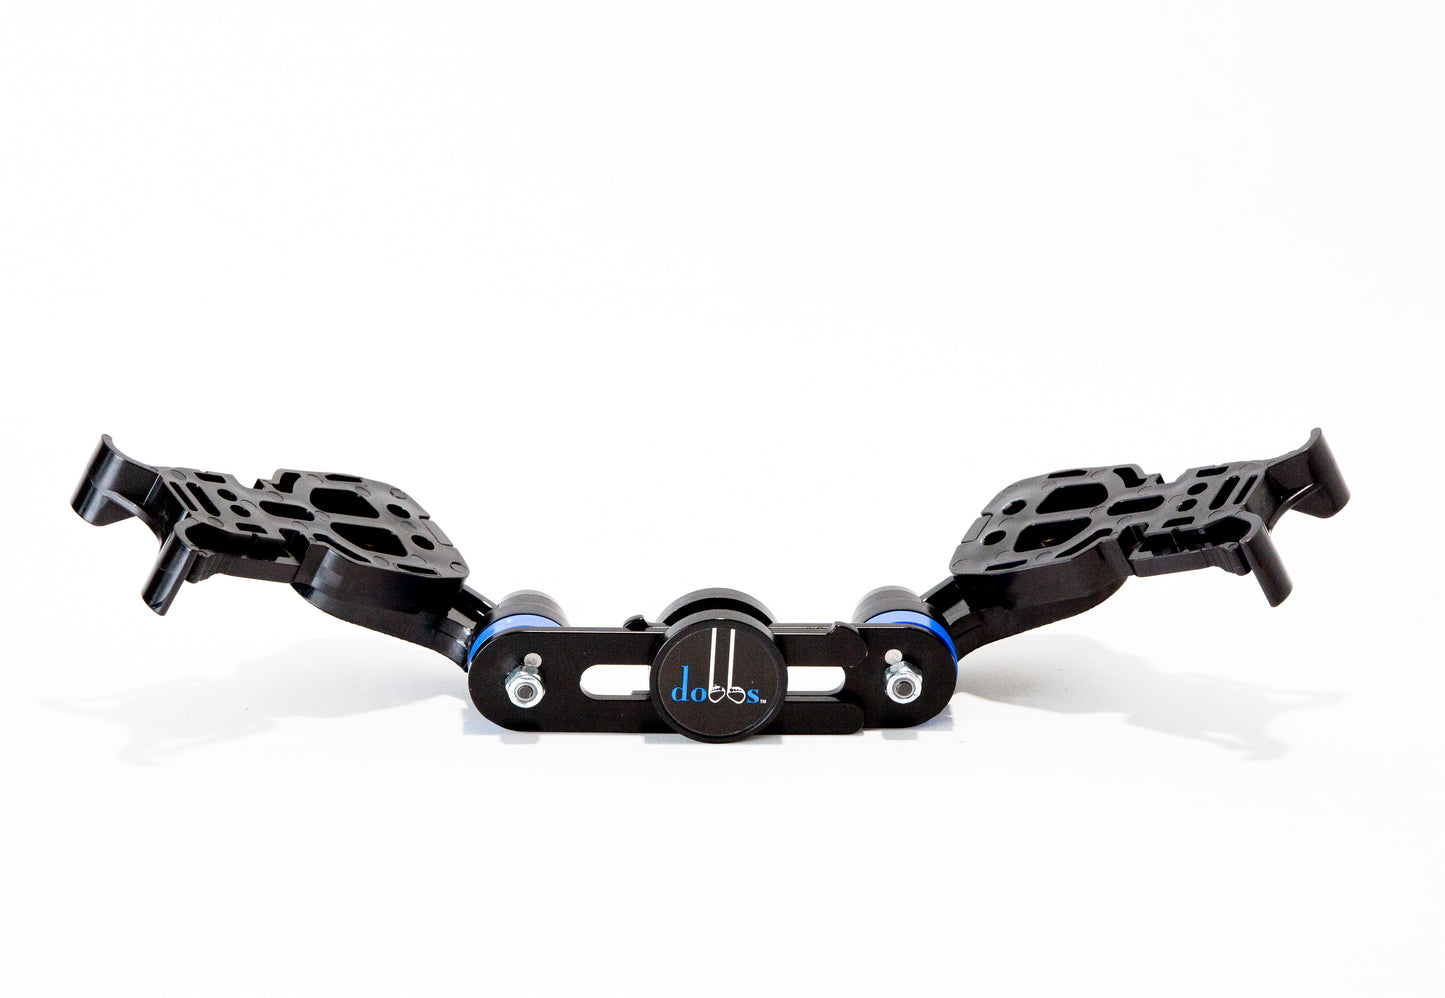
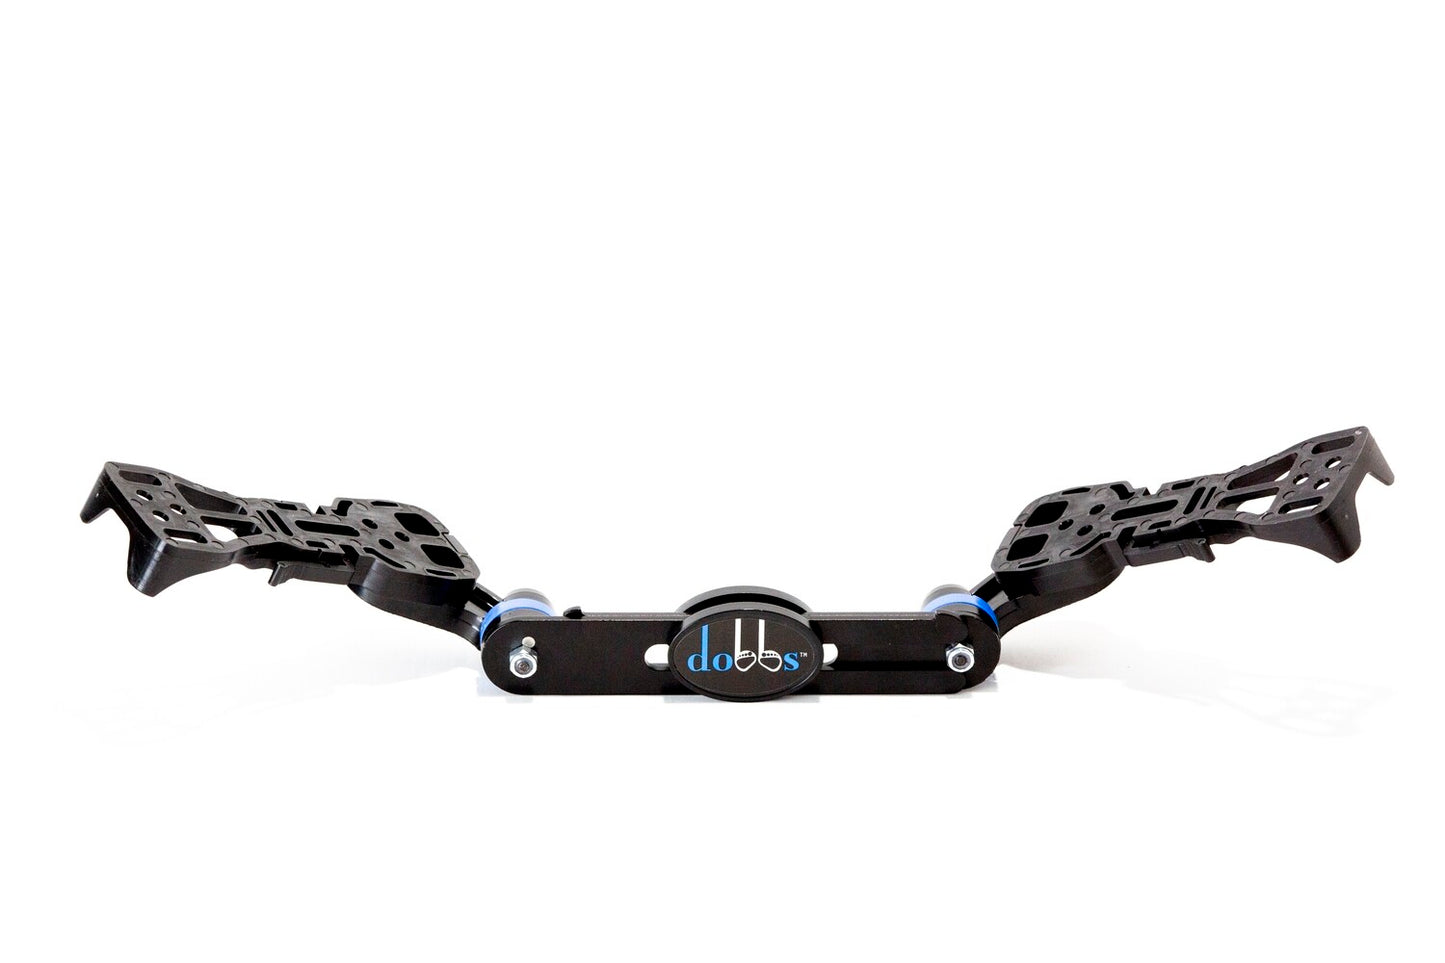
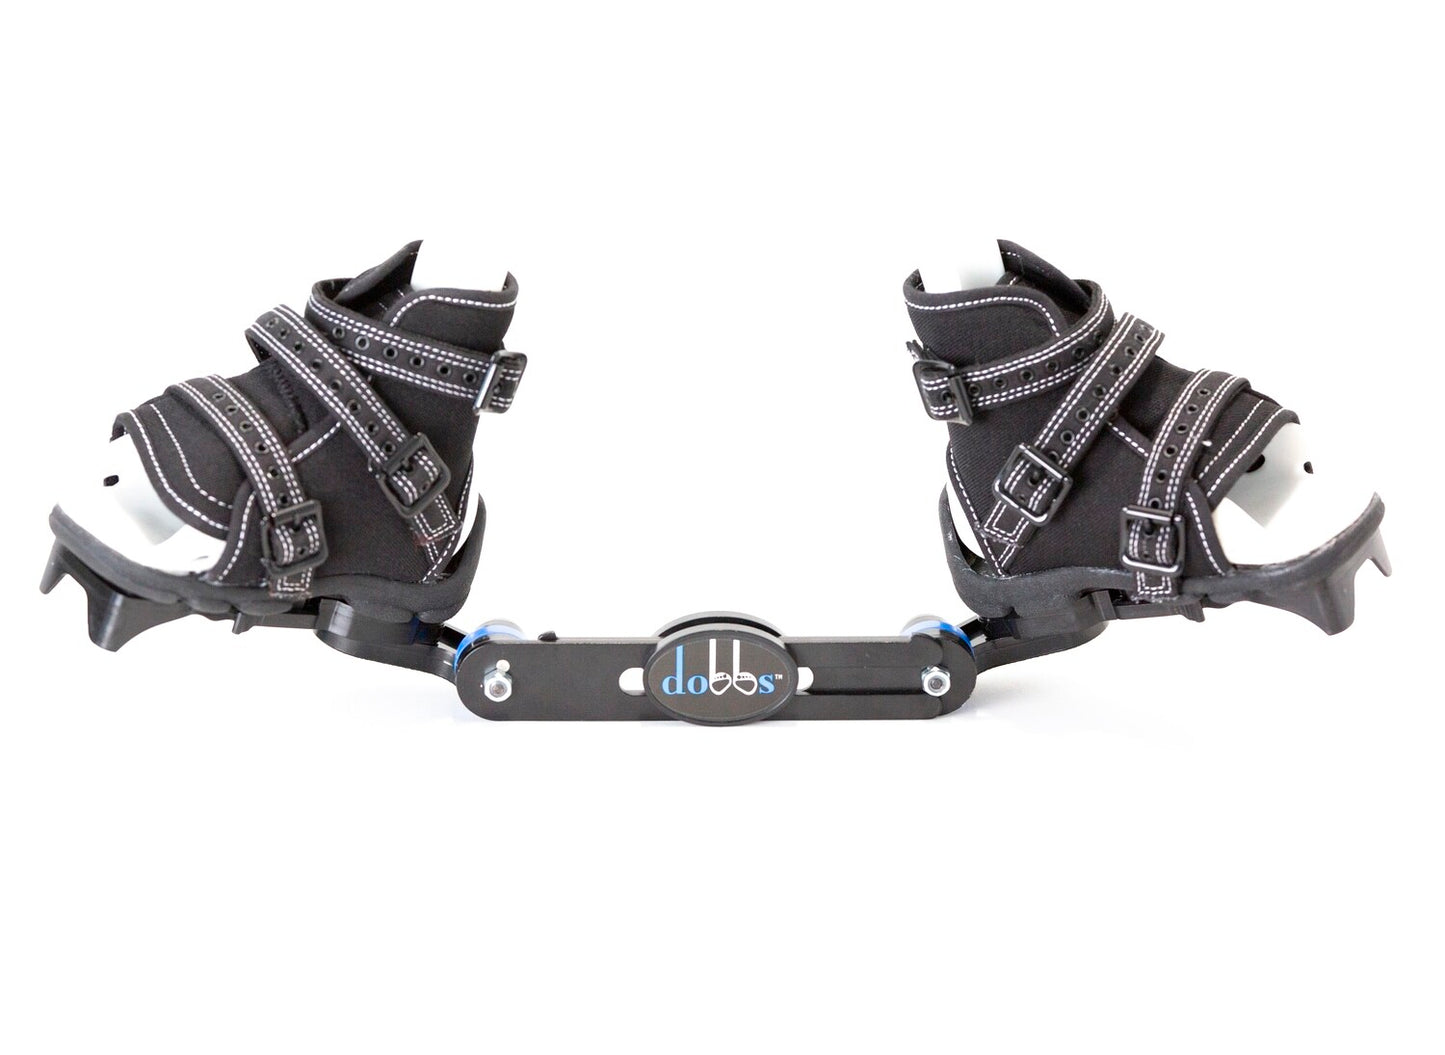
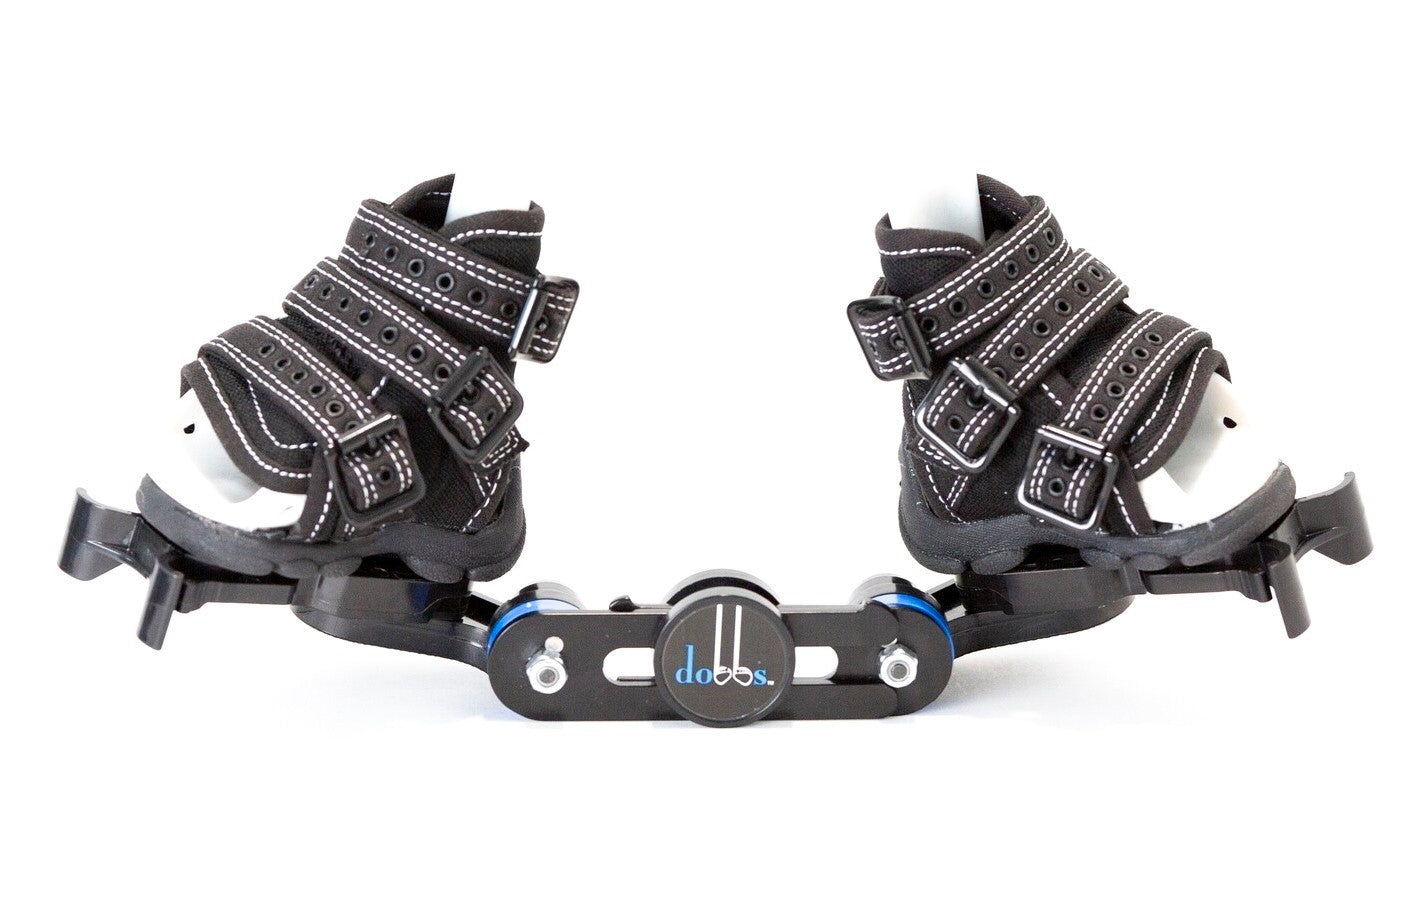
Now it is easier than ever to get a child in and out of his or her clubfoot brace. Just put the open-toe shoes on the child's feet and click them into place on the new Quick Release Dobbs Bar.
The Small bar adjusts from 6 to 9 inches (15.25 cm to 22.86 cm).
The Regular bar adjusts from 9-14 inches (22.86 cm to 35.56 cm).
Sizing is based off the child's shoulder width.
Due to the active spring tension in this product children less than 12 months of age should NOT be placed in the Regular Sized Dobbs Bar
Each bar comes with an instructional pamphlet with more information and instructions for use.
The Dobbs Bar should be worn 23 hours a day for the first 3 months and then at nighttime and naps for 3 to 4 years. Bracing is critical in maintaining the correction of clubfeet. If the brace is not worn as prescribed, there is a near 100 percent recurrence rate.
Model IADCB is compatible with the Iowa AFO's
- Independent Dorsi Assist Springs
- Adjustable Bar Width
- External Rotation in 10 Degree Increments
- Compatible With Iowa AFO's
Setting Up The Dobbs Bar
- Setting the bar width. The Dobbs Bar should be set so that the width of the bar is equal to the shoulder width of the child. Measure the shoulder width of the child from the left outside shoulder to the right outside shoulder. Adjust the length of the Dobbs Bar so that the length of the bar is equal to your shoulder width measurement from mid-heel of the left footplate to mid-heel of the right foot plate. It is better to have the bar a little wider than shoulder width rather than too narrow. It is uncomfortable for the child if the bar length is too narrow.
- Setting external rotation. The clubfoot should be set at about 60 degrees of external rotation, which should match the degree of rotation of the foot in the last cast. If the foot was externally rotated only 50 degrees in the last cast the brace should also be at 50 degrees. A normal, non-affected foot should be fixed on the bar in about 40 degrees of external rotation. Loosen screw in center hole. Position and fasten to quick clip. Locate indicator hole to set degree. Fasten bar with second screw in appropriate hole.
- Setting active spring tension. Locate the number dial in the back of the spring housing, this will be your first adjustment. Unscrew the rear adjustment screw until the dial is released. Turn the green dial to the appropriate setting. Tighten this screw all the way to set the rear spring setting. Turn the bar over so you can see the Dobbs Logo. You will need to do the same set of steps to the front adjustment screw to set one side of the bar. Both the back setting dial and the front setting dial need to set to the same number. Repeat these steps on the opposite side of the bar to complete setting up the new Dobbs Bar.
- Attaching Ponseti AFOs. To attach the Ponseti AFOs you will need to locate the opening in the back of the AFOs. You will then Slide each Ponseti Adapter into the opening in the back of each AFO. Each AFO will be correctly attached after you hear a "click" indicating the tongue and grove system are conjoined correctly.


